Stack your team with reps that crush it
Thousands of remote sales reps across 40+ industries worldwide with the same skills, qualities, and values as your in-house team?! Yup, Overpass is the solution you’ve been searching for.
Reimagine your sales team
Hiring local sales talent is so 2019. Expand your selling horizon with vetted reps in 100+ countries – without risking culture-fit and turnover.
The result? A faster recruitment time, limitless scalability, greater rep longevity, and a healthier bottom line.


A new way to hire
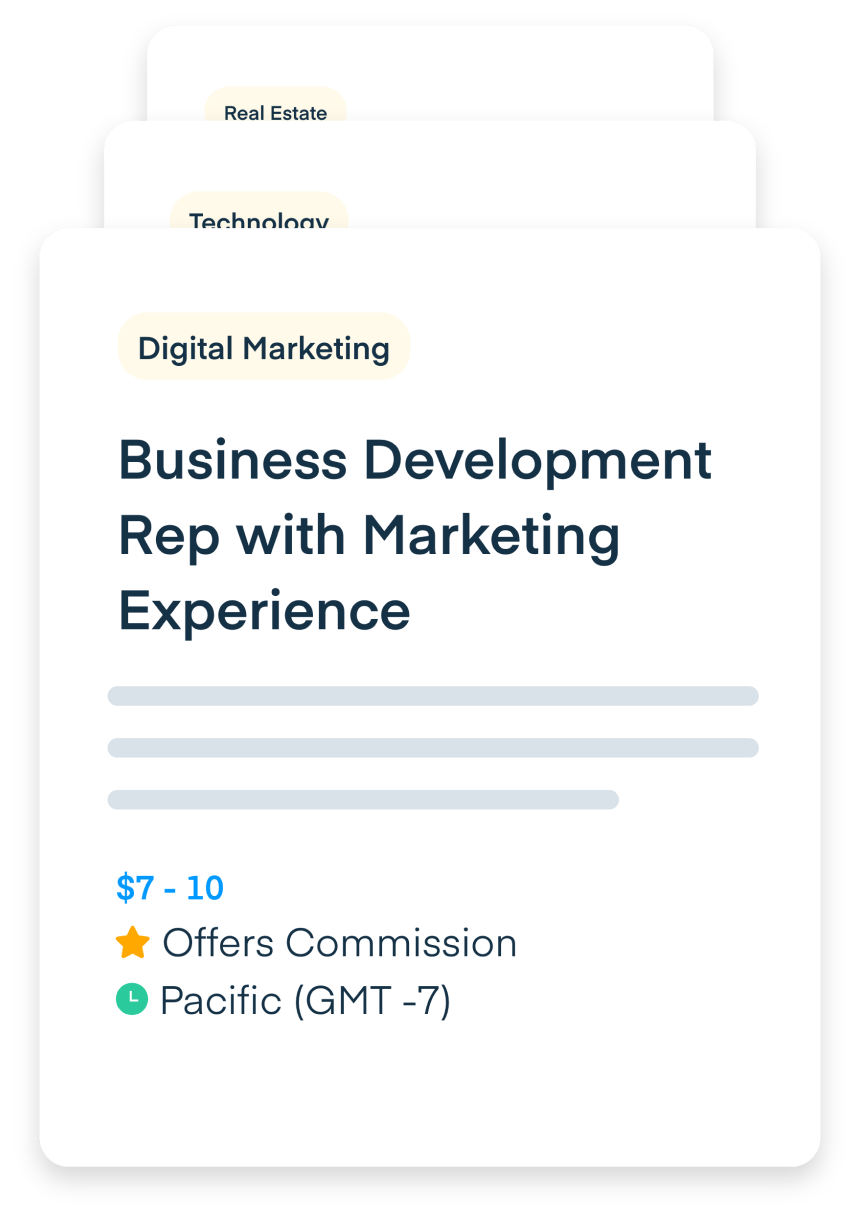
Post Jobs
Without Limits
Have an open position or two? Or ten? Create a free account and post away. You won’t pay a cent until you make your first hire.


Designed by the
Best, for the Best
Each expert-led course teaches and tests the skills it takes to become a sales rockstar
Certified Reps
Deserve to Stand Out
Reps who pass courses earn profile badges to showcase drive and commitment to learning
Empower Ongoing
Education
Utilize courses as additional team training (‘cause there’s no such thing as being over-educated)